Sharp LC-13AV6U Specifications Page 10
- Page / 67
- Table of contents
- BOOKMARKS

- LC-13AV6U 1
- SPECIFICATIONS 5
- OPERATION MANUAL 6
- Part Names of Remote Control 7
- Preparation 7
- DIMENSIONS 8
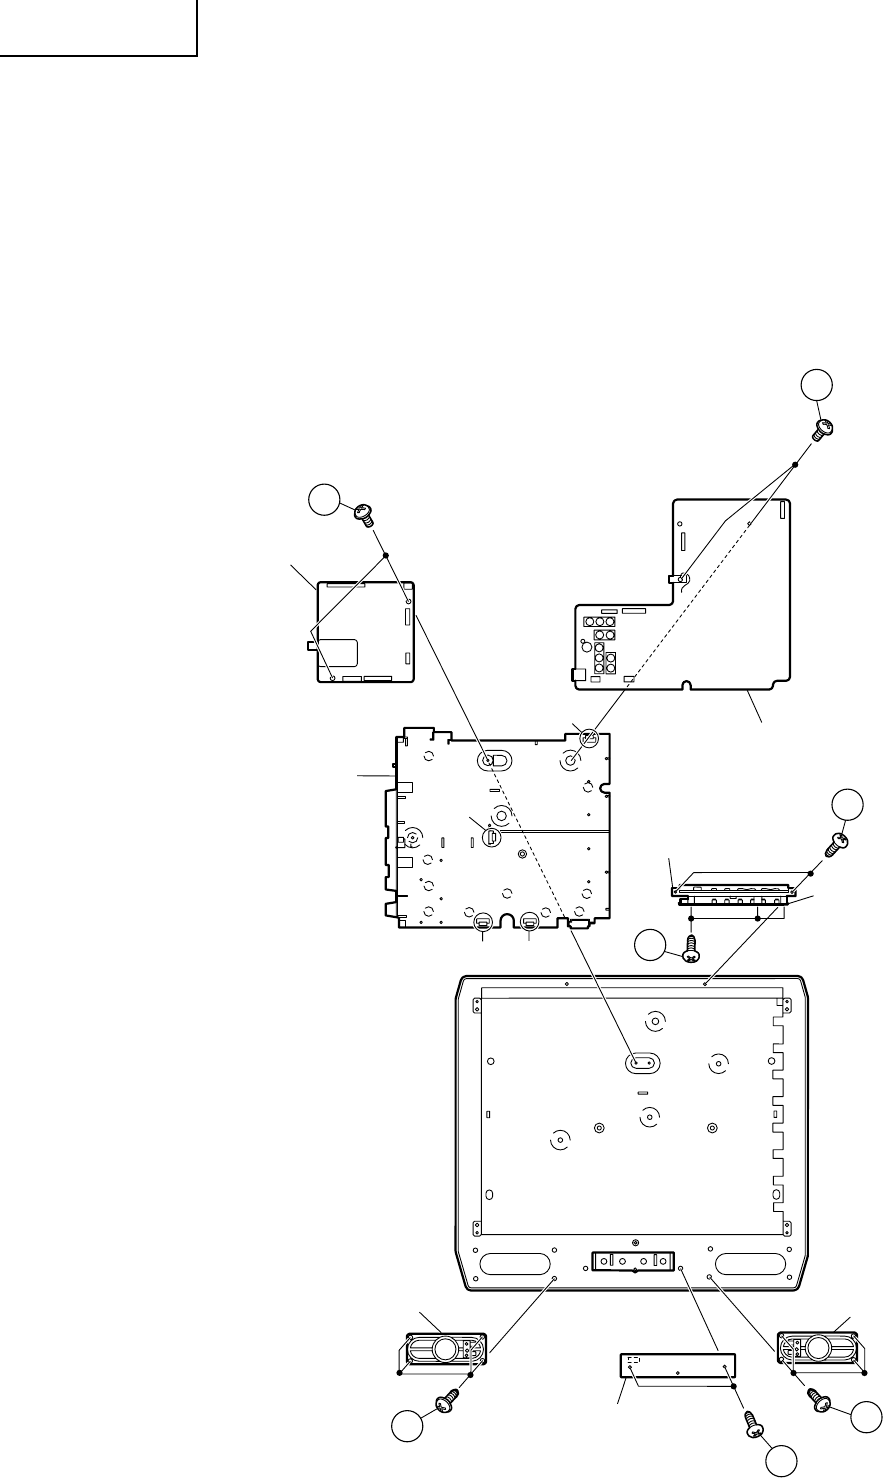
- REMOVING OF MAJOR PARTS 9
- 1. Preparations 13
- SETTING COMPLETE 15
- "ADJUSTING PROCEDURE OF 17
- 1. How to start Public Mode 24
- 2. How to exit Public Mode 25
- 3. Public Mode Setting Values 25
- 4. Public Mode Menu 25
- 5. On Setting Items 26
- TROUBLE SHOOTING TABLE 29
- (Continued) 30
- No audio output 31
- MAJOR IC INFORMATIONS 32
- BLOCK DIAGRAM 34
- OVERALL WIRING DIAGRAM 35
- SAFETY NOTES: 36
- IMPORTANT SAFETY NOTICE: 36
- AVIS DE SECURITE IMPORTANT: 36
- R/C, LED Unit 37
- SUB Unit-1/4 38
- SUB Unit-2/4 39
- SUB Unit-3/4 40
- SUB Unit-4/4 41
- MAIN Unit-1/5 42
- MAIN Unit-2/5 43
- MAIN Unit-3/5 44
- MAIN Unit-4/5 45
- MAIN Unit-5/5 46
- OPERATION Unit 47
- SUB Unit (Wiring Side) 49
- (QPWBFD368WJN1) 49
- SUB Unit (Chip Parts Side) 50
- (QPWBFD368WJN1) 50
- MAIN Unit (Side-A) 51
- MAIN Unit (Chip Parts Side-A) 52
- MAIN Unit (Side-B) 53
- MAIN Unit (Chip Parts Side-B) 54
- DUNTKD368WEF8 55
- LCD PANEL 55
- DUNTKD369WEF8 59
- DUNTKD424FMF8 59
- DUNTKD425WEF8 63
- CABINET AND MECHANICAL PARTS 63
- SUPPLIED ACCESSORIES 65
- SERVICE JIGS 65
- PACKING PARTS 65
- PACKING OF THE SET 66
- COPYRIGHT 67
- 2006 BY SHARP CORPORATION 67
- ALL RIGHTS RESERVED 67
Related products and manuals for LCD TVs Sharp LC-13AV6U
 (2 pages)
(66 pages)
(2 pages)
(100 pages)
(2 pages)
(66 pages)
(2 pages)
(100 pages)
© 2020, manymanuals.com. All rights reserved. | 0.033 s |
 Manymanuals.com
 Manymanuals.de
 Manymanuals.fr
 Manymanuals.it
 Manymanuals.pl
 Manymanuals.cz
 Manymanuals.es
 Manymanuals-pt.com
Comments to this Manuals