Sharp PA-VR5E Specifications
Browse online or download Specifications for Dictaphones Sharp PA-VR5E. Sharp PA-VR5E Specifications User Manual
- Page / 35
- Table of contents
- TROUBLESHOOTING
- BOOKMARKS

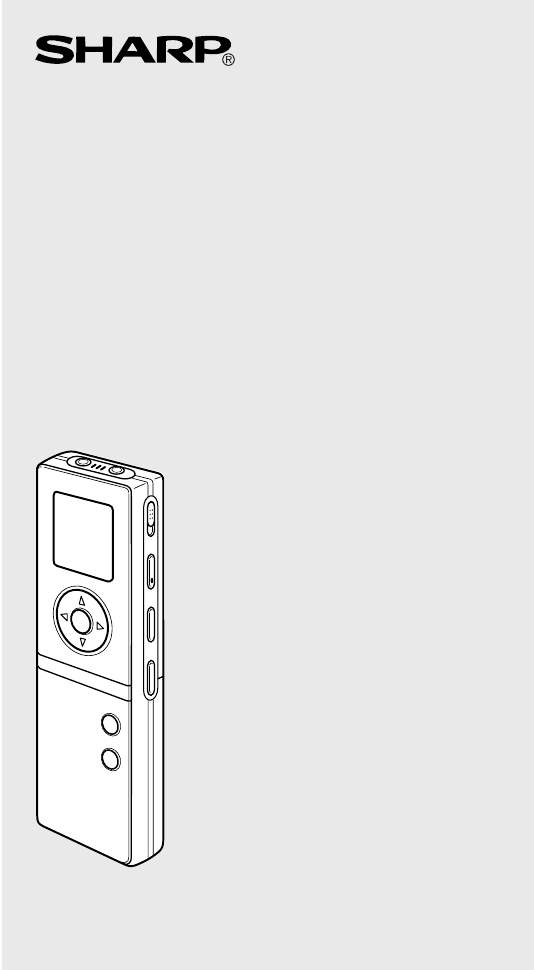
- PA-VR10E 1
- Warnings 2
- Cautions 2
- Contents 4
- Part names 5
- Month Day 8
- ITALIANO 12
- FRANÇAIS 12
- Settings 13
- Recording 15
- Playing recordings 17
- Deleting 21
- Other Functions 22
- Important Information 29
- Troubleshooting 32
- Specifications 33
- In Europe: 34
Summary of Contents
DIGITAL VOICE RECORDERDIGITALES DIKTIERGERÄTENREGISTREUR VOCAL NUMÉRIQUEGRABADORA DE VOZ DIGITALREGISTRATORE VOCALE DIGITALEPA-VR10EPA-VR5EOPERATION M
9ITALIANOESPAÑOLFRANÇAISDEUTSCHENGLISH● MenusPress the STOP/MENU button once or twice.Press the OK button.SETCODEC▲▲▲SCHEDSENSEALARMVAFONT I MERCLOCK▲
必ずお読みください10Setting the date and time (Clock setting)You must set the date and time before using the recorder for thefirst time and after installing ne
11ITALIANOESPAÑOLFRANÇAISDEUTSCHENGLISH7Press the ▲ (+) or ▼ (-) cursor button toselect the month.8Press the OK button to confirm theselected month se
必ずお読みください12SettingsIn this section it is explained how to select the settings required touse the recorder’s various functions.Screen displayRecording
13ITALIANOESPAÑOLFRANÇAISDEUTSCHENGLISH4Select a recording mode and press the OK button.Setting the microphone sensitivityYou can select the sensitivi
必ずお読みください14Press the ▲ (+) or ▼ (-) cursor button toselect ON or OFF.ON: Enables silence skip recording.OFF: Returns to normal voice recording.4Press
15ITALIANOESPAÑOLFRANÇAISDEUTSCHENGLISH3To stop recording, press the STOP/MENU button.Notes on recording voice• You can record up to 127 files in each
必ずお読みください16Event marking number017520contains event marking numbers, you can skip backwards orforwards to the part you want to hear by pressing the 1
17ITALIANOESPAÑOLFRANÇAISDEUTSCHENGLISH2Press the ▲ (+) or ▼ (-) cursor buttonuntil the “SPEED” (playback speedsettings) screen appears, then press th
必ずお読みください18SKIP/SEARCHbutton pressed5 or 44(File advance)5(File rewind)ModestatusStoppedPlaybackResultDisplays the previous or next filenumber. If the
1ITALIANOESPAÑOLFRANÇAISDEUTSCHENGLISHUsing the ProductNever use the earphones or operate the digital voice recorderwhile driving a car or riding a mo
19ITALIANOESPAÑOLFRANÇAISDEUTSCHENGLISHSKIP/SEARCHbutton (Press andhold)4(Fast forward)5(Fast rewind)ModestatusPlaybackResultScans forward through the
必ずお読みください20DeletingDeleting event marking numbers1Press the FOLDER/REPEAT button, select a folder and thenpress the OK button.2Press the 11111 (55555)
21ITALIANOESPAÑOLFRANÇAISDEUTSCHENGLISH• The remaining file numbers are adjusted after the file isdeleted.Deleting during playback• Follow steps 3 and
必ずお読みください224Press the OK button to confirm the displayed hour.The “minutes” setting then starts flashing.5Press the ▲ (+) or ▼ (-) cursor button tosel
23ITALIANOESPAÑOLFRANÇAISDEUTSCHENGLISHPlaying a message1Press the STOP/MENU button once or twice to display themenu screen.2Press the ▲ (+) or ▼ (-)
必ずお読みください247Press the ▲ (+) or ▼ (-) cursor button to select the “hour”setting for the start time and then press the OK button.Next, the “minutes” set
25ITALIANOESPAÑOLFRANÇAISDEUTSCHENGLISH3Press the ▲ (+) or ▼ (-) cursor button to select a timer delay(1 to 99 minutes), then press the OK button.The
必ずお読みください26• Microsoft and Windows are either registered trademarks ortrademarks of Microsoft Corporation in the U.S. and/or othercountries.Connecting
27ITALIANOESPAÑOLFRANÇAISDEUTSCHENGLISHBacking up recorded audio dataThe audio recordings are stored as data files in folders 1 to 4. Tostore these fi
必ずお読みください28Important InformationReplacing the batteriesOnce the batteries are becoming exhausted, you will no longer beable to record or play back voi
必ずお読みください2Do not turn up the volume excessively. Listening through earphonesat a very high volume for extended periods of time can damage yourhearing.
29ITALIANOESPAÑOLFRANÇAISDEUTSCHENGLISHWhen to replace the batteriesThe icon in the top-right corner of the display indicates whenthe batteries are
必ずお読みください30Dealing with problemsIn very unusual circumstances, such as exposure to strong externalelectrical interferences or a strong impact, all the
31ITALIANOESPAÑOLFRANÇAISDEUTSCHENGLISHTroubleshootingIf the problems described below occur, it does not necessarilymean that the recorder is faulty.
必ずお読みください32SpecificationsModel PA-VR10E/PA-VR5EName Digital voice recorderInternal memory PA-VR10E: 64 MBPA-VR5E: 32 MBRecording times PA-VR10E:HQ m
In Europe:This equipment complies with the requirements of Directive89/336/EEC as amended by 93/68/EEC.Dieses Gerät entspricht den Anforderungen der E
DIGITAL VOICE RECORDERDIGITALES DIKTIERGERÄTENREGISTREUR VOCAL NUMÉRIQUEGRABADORA DE VOZ DIGITALREGISTRATORE VOCALE DIGITALEPA-VR10EPA-VR5EOPERATION M
3ITALIANOESPAÑOLFRANÇAISDEUTSCHENGLISHInformation Stored in MemoryInformation stored by the user in the product’s memory can bealtered or erased due t
必ずお読みください4Part names1 2 378910111245613141516171. Microphone jack2. Built-in microphone (page 13)3. Earphone jack (page 19)4. Display (page 5)5. Cur
5ITALIANOESPAÑOLFRANÇAISDEUTSCHENGLISHDisplay1. Folder no.: Indicates the number of the folder in whichrecorded data files are stored (page 14).2. Dat
必ずお読みください6Using the PA-VR10E/5E for the first timeBefore you attempt to use the recorder, insert the batteries andreset (initialize) the recorder to i
7ITALIANOESPAÑOLFRANÇAISDEUTSCHENGLISH5Press the OK button.When “OK?” appears on the display, press the OK buttonagain.The “RESET…” message appears on
必ずお読みください8Standby mode screenThis screen shows the folder number,file number and the recording date/event marking time.Pressing the OK button switches
© 2020, manymanuals.com. All rights reserved. | 0.028 s |
 Manymanuals.com
 Manymanuals.de
 Manymanuals.fr
 Manymanuals.it
 Manymanuals.pl
 Manymanuals.cz
 Manymanuals.es
 Manymanuals-pt.com
Comments to this Manuals