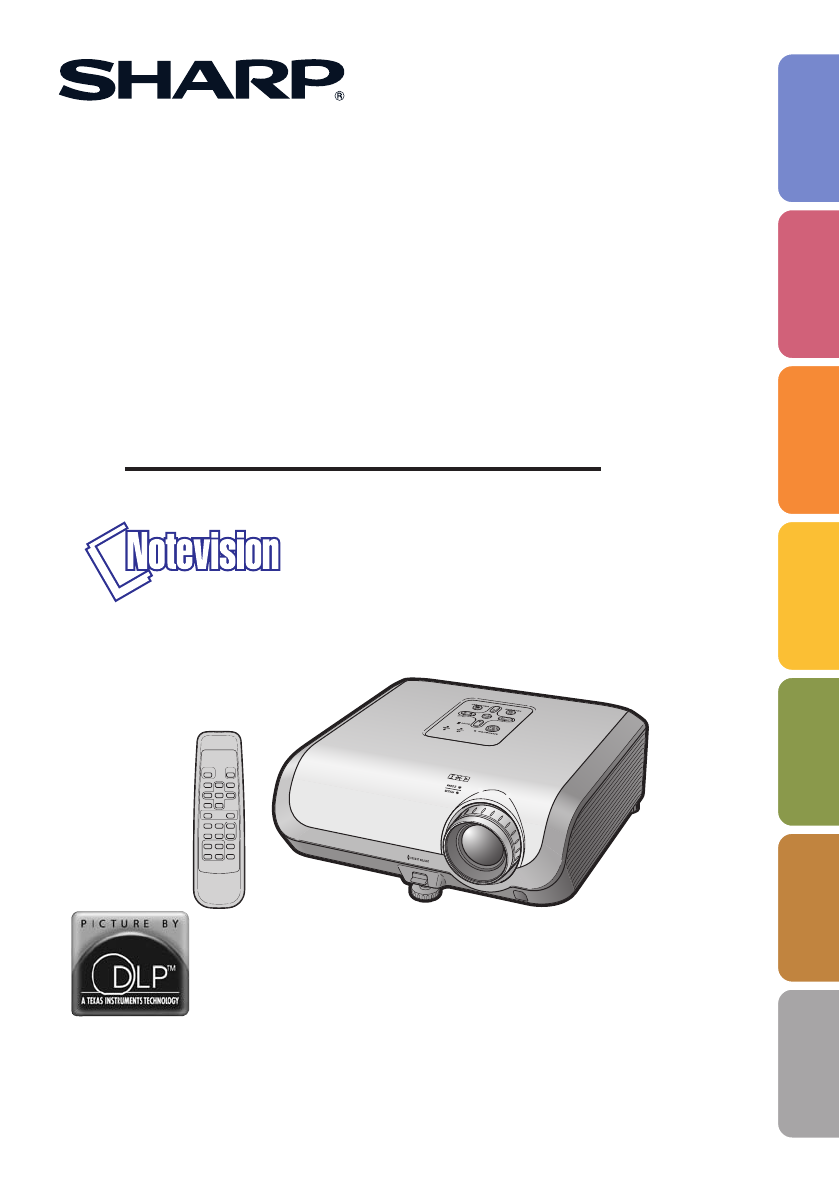
Sharp XG-MB50X Owner's Manual
Browse online or download Owner's Manual for Data projectors Sharp XG-MB50X. Sharp XG-MB50X Owner's Manual User Manual
- Page / 68
- Table of contents
- TROUBLESHOOTING
- BOOKMARKS

- XR-20X/XR-20S 1
- XG-MB50X/XR-10S 1
- Model No.: 2
- Serial No.: 2
- PRODUCT DISPOSAL 4
- INFORMATION 4
- Declaration of conformity 4
- For Future Reference 5
- Contents 6
- Reference 7
- IMPORTANT SAFEGUARDS 8
- 16 inches (30 cm) of space 10
- Introduction 11
- Accessories 12
- Part Names and Functions 13
- Rear View 14
- Inserting the Batteries 16
- Usable Range 17
- Quick Start 18
- INPUT1 INPUT2 INPUT3 INPUT4 19
- Setting up the Projector 20
- Projection (PRJ) Mode 21
- NORMAL Mode (4:3) 22
- STRETCH Mode (16:9) 22
- Connections 23
- Connecting to a Computer 25
- Connecting to Video Equipment 26
- Connecting the Power 28
- Turning the Projector On/Off 29
- 3 ZOOM4 ENTER 30
- 2 HEIGHT ADJUST 30
- 3 Adjusting the Height 31
- 0Keystone 33
- ADJ. END 33
- Image Projection (Continued) 34
- • See page 34
- for setting on menu screen 34
- Operation 35
- Menu Items 37
- Menu Items (Continued) 38
- Using the Menu Screen 39
- To adjust the projected 40
- 1 Selecting the Picture Mode 41
- (Continued) 42
- Adjusting the Projected Image 43
- (“SCR - ADJ” menu) 43
- Menu operation n Page 37 44
- Features 45
- Locking the Operation 47
- Buttons on the Projector 47
- (Keylock Function) 47
- SEL./ADJ. Rtn. Menu END 48
- Mild detergent 49
- Mild detergent diluted 49
- Maintenance Indicators 50
- Appendix 51
- Regarding the Lamp 52
- Warning! 53
- Resetting the Lamp Timer 54
- Connecting Pin Assignments 55
- O K E R R 56
- ProjectorComputer 57
- Commands 57
- Computer Compatibility Chart 60
- Troubleshooting 61
- Troubleshooting (Continued) 62
- For SHARP Assistance 63
- Specifications 64
- Dimensions 65
Summary of Contents
Printed in ChinaTINS-C132WJZZ05P09-CH-NGMULTIMEDIA PROJECTORMODELXR-20X/XR-20SXG-MB50X/XR-10SOPERATION MANUALSHARP CORPORATIONIntroduction Quick Start
8Observe the following safeguards when setting up yourprojector.Caution concerning the lamp unit Potential hazard of glass par-ticles if lamp rupture
9Introduction When turning off the projector, the cooling fanruns to decrease the internal temperature fora while. Unplug the power cord after the co
10AccessoriesRemote controlRRMCGA398WJSATwo R-6 batteries (“AA” size, UM/SUM-3,HP-7 or similar)RGB cable(10' (3.0 m))QCNWGA045WJPZ• Operation man
11Introduction313748303028294728152727, 4837, 4627, 4837Top ViewSTANDBY/ONbuttonFor turning thepower on andputting theprojector intostandby mode.Lamp
122547292625252423242521232426244347Numbers in Z refer to the main pages in this operation manual where the topicis explained.TerminalsRear ViewRefer
13Introduction31373034303746272737343437303432Numbers in Z refer to the main pages in this operation manual where the topicis explained.STANDBY button
14• Danger of explosion if battery is incorrectly replaced.Replace only with the same or equivalent type.• Insert the batteries making sure the polari
15Introduction• The signal from the remote control can be re-flected off a screen for easy operation. How-ever, the effective distance of the signal m
16Quick StartThis section shows the basic operation (projector connecting with the computer). For details, seethe page described below for each step.S
17Quick Start4. Adjust the projected image with the Setup GuideSelect the “INPUT 1” using the INPUT button on the projector or C INPUT 1 on the remot
IMPORTANT• For your assistance in reporting the lossor theft of your Projector, please recordthe Model and Serial Number located onthe bottom of the p
18Ceiling-mount Setup It is recommended that you use the optionalSharp ceiling-mount bracket for this installa-tion. Before mounting the projector, c
19Setup300"200"100"84"60"240"180"160"120"80"60"67"50"48"36"34'3"–
20Setting up the Projector (Continued)300 (762 cm)270 (686 cm)250 (635 cm)200 (508 cm)150 (381 cm)100 (254 cm)84 (213 cm)72 (183 cm)60 (152 c
21ConnectionsConnectionsINPUT Terminals and Connectable Main EquipmentINPUT 1, 2 terminal Connecting the computer. (See page 23.) Connecting video eq
22Samples of Cables for ConnectionCables for a cameraor a video gameEquipmentInputSignalCableTerminal on theprojectorø3.5 mm stereo audio cable(commer
23ConnectionsConnecting to a ComputerTo RGB output terminalTo audio output terminalRGB Cable* ø3.5 mm stereo ormono audio cable(commerciallyavailable
24LRConnecting to Video EquipmentThe projector is equipped with input terminals that support component, S-video, and video signals.See the illustratio
25ConnectionsLRTo video output terminalWhen using a composite video cable(INPUT4)To audio output terminalNoteComposite video cable(commercially availa
26Controlling the Projector by a ComputerWhen the RS-232C terminal on the projector is connected to a computer with a DIN-D-sub RS-232C adaptor* (opti
27BasicOperationTurning the Projector On/OffRemove the lens cap and pressSSTANDBY/ON on the projector orfON on the remote control.• When System Lock i
1IntroductionBefore using the projector, please read this operation manual carefully.There are two important reasons for prompt warranty registration
28About the Setup GuideAfter turning on the projector, the SetupGuide screen appears to assist you withprojector setup.Press TENTER to exit the Setup
29BasicOperation3 Adjusting the HeightThe height of the projector can be ad-justed using the adjustment feet at thefront and rear of the projector.Whe
30Image Projection (Continued)Displaying the Black Screenand Turning off the SoundTemporarilyAdjusting the VolumeSwitching the Input ModePressC INPUT
31BasicOperation0KeystoneADJ. ENDCorrecting TrapezoidalDistortionWhen the image is projected either fromthe top or from the bottom towards thescreen a
32Image Projection (Continued)XR-20X/XG-MB50X XR-20S/10SResize ModeThis function allows you to modify or customize the resize mode to enhance the inpu
33BasicOperationVIDEO•“STRETCH” is fixed when 540P, 720P or 1080I signals are entered.: Cutout area on which images cannot be projected.: Area on whic
34Auto Sync(Auto Sync Adjustment)Operating with the Remote ControlFreezing a Moving Image• When the optimum image cannot be achievedwith Auto Sync adj
35UsefulFeaturesThe following shows the items that can be set in the projector.Menu Items“Screen adjustment (SCR-ADJ)” menuINPUT 1 (Component)/INPUT 2
36“Projection adjustment (PRJ-ADJ)” menuPictureAuto SearchSCR - ADJ PRJ - ADJ HelpAuto SyncAuto Power OffSystem SoundSystem LockhOnOnOnOnSEL./ADJ. ENT
37UsefulFeaturesUsing the Menu ScreenMenu Selections (Adjustments)Example: Adjusting “Bright”.• This operation can also be performed by using the butt
2Caution Concerning Lamp ReplacementSee “Replacing the Lamp” on page 50.PRODUCT DISPOSALThis projector utilizes tin-lead solder, and a pressurized lam
38Using the Menu Screen (Continued)Press P or R and select “Bright”to adjust.• The selected item is highlighted.• Press hENTER again to return to thep
39UsefulFeaturesPicture Adjustment (“Picture” menu)Selectable itemsStandardPresentationMovieGame*sRGBQ Example: “Picture” screen menu forINPUT 1 (RGB)
4044444 Progressive• In NTSC or PAL60Hz, even if the 3D Progres-sive mode has been set, the three-two pulldown enhancement will be enabled automati-ca
41UsefulFeaturesAdjusting the Projected Image(“SCR - ADJ” menu)PictureResizeImage Shift 00SCR - ADJ PRJ - ADJ HelpKeystoneAuto KeystoneOSD DisplayBack
42The projector can switch the on-screen displaylanguage among 11 languages.Selectable itemsFrontCeiling + FrontRearCeiling + RearDescriptionNormal im
43UsefulFeaturesAdjusting the Projector Function (“PRJ - ADJ” menu)PictureAuto SearchSCR - ADJ PRJ - ADJ HelpAuto SyncAuto Power OffSystem SoundSystem
44InfoThis function prevents unauthorized use of theprojector. Once this function is activated, usersmust enter the correct keycode each time theproje
45UsefulFeaturesNoteInput screen for keycodeTo cancel the keycode that you have alreadyset• Press R on the projector for four times in steps2 and 3 ab
46Troubleshooting with “Help” menuUtilizing “Help” menu functionsThis function advises you to solve the problems during usage.• You can adjust the ite
47AppendixCleaning the lens Use a commercially available blower or lenscleaning paper (for glasses and camera lenses)for cleaning the lens. Do not us
3Introduction37UsefulFeaturesUsing the Menu ScreenMenu Selections (Adjustments)Example: Adjusting “Bright”.• This operation can also be performed by u
48Maintenance IndicatorsAbout the lamp indicator When the remaining lamp life becomes 5% or less, (yellow) and “Change The Lamp” will bedisplayed o
49Appendix• If the temperature warning indicator illuminates, and the projector enters standby mode, follow thepossible solutions above and then wait
50Regarding the LampLamp It is recommended that the lamp (sold separately) be replaced when the remaining lamp life becomes5% or less, or when you no
51AppendixRemoving and Installing theLamp Unit• Make sure that you remove the lamp unit bythe handle. Do not touch the glass surface ofthe lamp unit o
52Regarding the Lamp (Continued)Remove the lamp unit.• Loosen the securing screws from thelamp unit. Hold the lamp unit by thehandle and pull it in th
53AppendixConnecting Pin AssignmentsCOMPUTER-RGB Input/OutputCOMPUTER-RGB/COMPONENT INPUT1, 2 and COMPUTER-RGB/COMPONENT OUTPUT Terminals:15-pin Mini
54RS-232C Specifications and Command SettingsComputer controlA computer can be used to control the projector by connecting an RS-232C serial control c
55AppendixPower OffPower OnPower StatusProjector ConditionLamp StatusLamp Power StatusLamp QuantityLamp Usage Time (Hour)Lamp Life (Percentage)Model N
56INPUT 1 Picture Mode : PresentationINPUT 1 Picture Mode : MovieINPUT 1 Picture Mode : GameINPUT 1 Picture Mode : sRGBINPUT 1 Contrast (ⴑ30 – ⴐ30)INP
57AppendixINPUT 4 Sharp (ⴑ30 – ⴐ30)INPUT 4 CLR Temp *2INPUT 4 Bright Boost (0 – 2)INPUT 4 Progressive : 2DINPUT 4 Progressive : 3DINPUT 4 Progressive
4ContentsPreparingIntroductionHow to Read this Operation Manual ... 3Contents ... 4IMPORTANT SAFEGUARDS .
58DTV• When this projector receives 640K350 VESA format VGA signals, “640K400” appears on the screen.• Optimum image quality will be achieved by match
59AppendixTroubleshootingNo picture and no soundor projector does notstart.Sound is heard but nopicture appears (or pictureis dark).Color is faded or
60ProblemPicture is green onINPUT 1 (COMPONENT)/INPUT 2 (COMPONENT).Picture is pink (no green)on INPUT 1 (RGB)/INPUT2 (RGB).Picture is too bright andw
61AppendixFor SHARP AssistanceIf you encounter any problems during setup or operation of this projector, firstrefer to the “Troubleshooting” section o
62SpecificationsProjectorXR-20X/XR-20S/XG-MB50X/XR-10SNTSC3.58/NTSC4.43/PAL/PAL-M/PAL-N/PAL-60/SECAM/DTV480I/DTV480P/DTV540P/DTV576I/DTV576P/DTV720P/D
63AppendixDimensionsUnits: inches (mm)12 13/32 (315)3 1/16 (77.5)2 19/32(65.5)1 53/64(46.2)3 5/32 (80)1 55/64 (47)2 7/8 (73)2 61/64(75)1 11/32 (33.8)4
643 RCA to 15-pin D-sub cable ...24AC socket ...26Accessories ...
65AppendixCONSUMER LIMITED WARRANTYSHARP ELECTRONICS CORPORATION warrants to the first consumer purchaser that this Sharp brand product (the “Product”
Printed in ChinaTINS-C132WJZZ05P09-CH-NGMULTIMEDIA PROJECTORMODELXR-20X/XR-20SXG-MB50X/XR-10SOPERATION MANUALSHARP CORPORATIONIntroduction Quick Start
5IntroductionReferenceAppendixMaintenance ... 47Maintenance Indicators ... 48Regarding the Lamp
61. Read InstructionsAll the safety and operating instructions shouldbe read before the product is operated.2. Retain InstructionsThe safety and opera
7Introduction15. OverloadingDo not overload wall outlets, extension cords, orintegral convenience receptacles as this canresult in a risk of fire or e
Related products and manuals for Data projectors Sharp XG-MB50X
 (68 pages)
 (54 pages) (90 pages)
(40 pages)
(64 pages)
(4 pages)
(54 pages) (90 pages)
(40 pages)
(64 pages)
(4 pages)
© 2020, manymanuals.com. All rights reserved. | 0.032 s |
 Manymanuals.com
 Manymanuals.de
 Manymanuals.fr
 Manymanuals.it
 Manymanuals.pl
 Manymanuals.cz
 Manymanuals.es
 Manymanuals-pt.com
Comments to this Manuals