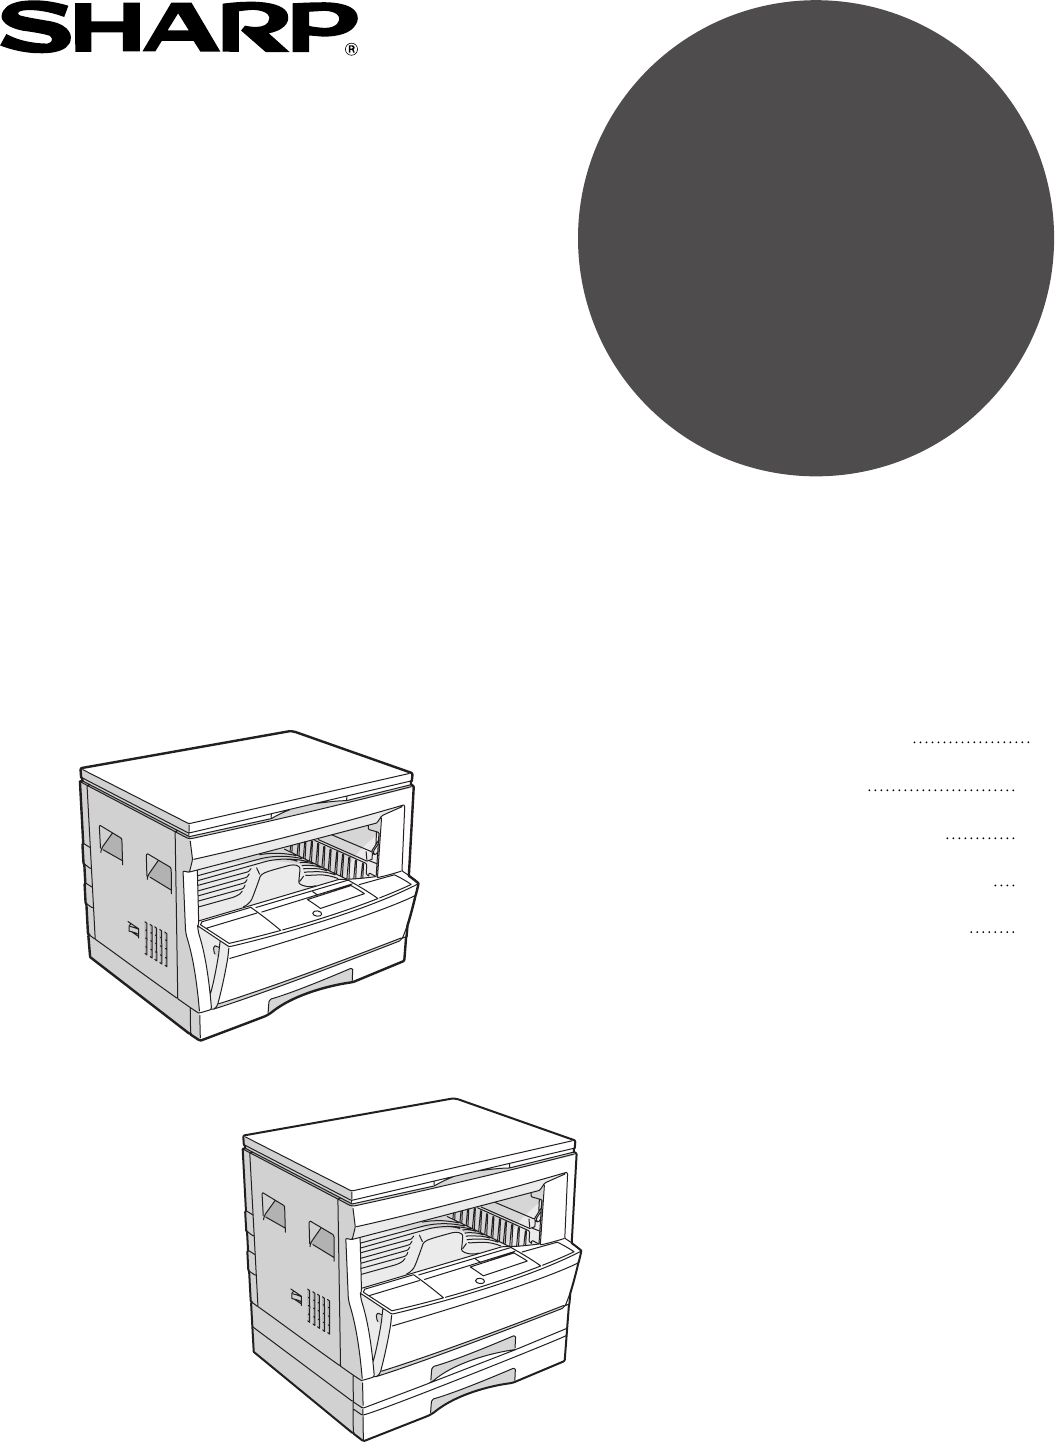
Sharp AR-5120 Specifications
Browse online or download Specifications for Copiers Sharp AR-5120. Sharp AR-5120 Specifications User Manual
- Page / 66
- Table of contents
- BOOKMARKS
- AR-5015 N 1
- CAUTIONS 2
- CONTENTS Page 3
- INTRODUCTION 4
- MAIN FEATURES 5
- PART NAMES AND FUNCTIONS 6
- COPIER INSTALLATION 10
- CAUTIONS ON HANDLING 11
- LOADING COPY PAPER 12
- AUDITING ACCOUNTS 15
- Power on 16
- NORMAL COPYING 17
- Automatic 18
- REDUCTION/ENLARGEMENT/ZOOM 19
- BYPASS FEED (special paper) 20
- MAKING COPIES 22
- Two-sided copying 22
- Original Copy 23
- B/W REVERSE 25
- AUTOMATIC EXPOSURE ADJUSTMENT 28
- TONER SAVE MODE 29
- GENUINE SUPPLIES 30
- TONER CARTRIDGE REPLACEMENT 31
- Toner cartridge life 31
- MISFEED REMOVAL 32
- DEVELOPER REQUIRED 37
- MAINTENANCE REQUIRED 37
- USER PROGRAMS 38
- Setting the user programs 39
- Program No. 10: Auditing mode 41
- POWER SAVE MODES 45
- Setting the power save modes 46
- Copying from the preheat mode 46
- USER MAINTENANCE 47
- Transfer charger cleaning 48
- COPIER TROUBLE? 49
- Self-diagnostic function 51
- SUPPLIES 52
- Genuine supplies statement 53
- Proper storage 53
- SPECIFICATIONS 54
- GENERAL INFORMATION 56
- OPTIONAL 57
- EQUIPMENT 57
- SINGLE PASS FEEDER (AR-SP2) 58
- Using the SPF 59
- Misfeed removal 60
- LASER PRODUCT 64
- LASER KLASSE 1 64
- SHARP CORPORATION 66
- AR-5015 N/AR-5120 66
Summary of Contents
• GETTING STARTED• MAKING COPIES• STATUS INDICATORS• GENERAL INFORMATION• OPTIONAL EQUIPMENT213283655DIGITAL LASER COPIEROPERATION MANUALPageMODELAR-5
8GETTING STARTED10 cm Copier installationCOPIER INSTALLATIONImproper installation may damage the copier. Please note the followingduring initial insta
9GETTING STARTEDCAUTIONS ON HANDLINGBe careful in handling the copier as follows to maintain the performance ofthis copier.Do not drop the copier, sub
10GETTING STARTEDLOADING COPY PAPERTo save space, this copier has been designed with one (AR-5015 N) or two(AR-5120) adjustable front-loading trays, w
11GETTING STARTEDChanging the copy paper size in the tray1Gently lift and pull out the paper tray until it stops.2Push the pressure plate down until i
12GETTING STARTED Loading copy paperLOADING COPY PAPER8To set the selected paper size, press the PAPER SIZEENTER ( ) key.●The selected paper feed loca
13MAKING COPIESAUDITING ACCOUNTSIf this copier has been programmed in the auditing mode, it will not functionuntil an assigned 3-digit account number
14MAKING COPIESNORMAL COPYING1Turn the power switch on.●It will take about 35 seconds for the copier to warm up. However, youcan make desired settings
15MAKING COPIESNORMAL COPYINGNormal copying●For manual copy density adjustment, press the AUTO/MANUAL/PHOTO ( / / ) key to select MANUAL ( ) and adjus
16MAKING COPIESReduction/enlargement/zoomREDUCTION/ENLARGEMENT/ZOOMReduction and enlargement ratios can be selected either automatically with the AUTO
17MAKING COPIESREDUCTION/ENLARGEMENT/ZOOMReduction/enlargement/zoomManual1Place the original on the original table and close theplaten cover.2Use the
CAUTIONSFollow the cautions below when using this copier.●The fusing area is hot. Exercise care in this area when removing misfed paper.●Do not look d
18MAKING COPIESBypass feed (special paper)BYPASS FEED (special paper)The bypass tray is used to copy onto transparency film, labels, and otherspecial
19MAKING COPIESBYPASS FEED (special paper)Bypass feed (special paper)4Press the TRAY SELECT ( ) key to select the bypasstray.5Leave the copy quantity
20MAKING COPIESTwo-sided copyingTWO-SIDED COPYINGTwo-sided copies can be made on this copier using the bypass tray.1Place the first original on the or
21MAKING COPIES XY zoomOriginal CopyXY ZOOMThe XY ZOOM feature allows the horizontal and vertical copy ratios to bechanged independently.To use the XY
22MAKING COPIESXY zoomXY ZOOM5Use the PRESET RATIO selector ( , ) keys and zoom( , ) keys to change the copy ratio in the horizontaldirection in a s
23MAKING COPIES B/W reverseOriginal CopyB/W REVERSEThe B/W REVERSE feature is used to reverse black and white areas.●When the B/W REVERSE feature is s
24MAKING COPIESDual page copyOriginal CopyDUAL PAGE COPYThe DUAL PAGE COPY feature produces individual copies of two documentsplaced side by side on t
25MAKING COPIES Interrupting a copy runINTERRUPTING A COPY RUNINTERRUPT is used to interrupt a long copy run so that another job can bedone.1Press the
26MAKING COPIESAutomatic exposure adjustmentAUTOMATIC EXPOSURE ADJUSTMENTThe automatic exposure level can be adjusted to suit your copying needs.This
27MAKING COPIES Toner save modeTONER SAVE MODEThis mode reduces toner consumption by approximately 10% in the automaticand manual exposure modes. Copi
1GETTING STARTEDSTATUSINDICATORSMAKING COPIESGENERAL INFORMATIONOPTIONALEQUIPMENTCONTENTS PageGETTING STARTED●INTRODUCTION. . . . . . . . . . . . . .
28STATUSINDICATORS1Open the bypass tray. Lift slightly on the side cover andslide the cover out until it stops.2Push gently on both sides of the front
29STATUSINDICATORS Toner cartridge replacementTONER CARTRIDGE REPLACEMENT5Gently insert the toner cartridge along the guides untilit locks in place wh
30STATUSINDICATORSThe copier will stop when a misfeed occurs. The misfeed( ) indicator will blink, and blinking red misfeed locationindicators will in
31STATUSINDICATORSMISFEED REMOVAL Misfeed removalIf the misfed paper is seen from this side, proceed to C. Misfeed in the transport area .If paper is
32STATUSINDICATORSMISFEED REMOVAL Misfeed removal2Turn the roller rotating knob in the direction of thearrow.3Carefully remove the misfed paper. Lower
33STATUSINDICATORSMISFEED REMOVAL Misfeed removal3Close the side cover by pressing the handle on thecover.●The misfeed ( ) indicator will go out.Misfe
34STATUSINDICATORSMisfeed in the lower paper tray (AR-5120only)1Grasp the handle of the lower side cover and gentlyopen the cover.2Remove the misfed p
35STATUSINDICATORSDeveloper required/Maintenance requiredWhen the indicator lights up, service by an authorised SHARP servicetechnician is required.
36GENERAL INFORMATIONUser programsUSER PROGRAMSThe user programs allow the parameters of certain functions to be set,changed, or cancelled as desired.
37GENERAL INFORMATIONSetting the user programs1Press and hold the light ( ) key for more than 5seconds until all the alarm indicators (, , , ,and )
2GETTING STARTEDINTRODUCTIONThis copier has been designed to provide convenient copying features in a minimumamount of office space and with maximum o
38GENERAL INFORMATIONUSER PROGRAMSUser programs4Select the desired parameter using the numeric keys.●The entered parameter number will blink on the ri
39GENERAL INFORMATIONUSER PROGRAMSUser programsSettings for auditing accountsSettings of user programs No. 10 to 15 varies with the program number. Fo
40GENERAL INFORMATIONUSER PROGRAMSUser programsProgram No. 12: Account number changeProgram No. 12 is used to change account numbers. When program No.
41GENERAL INFORMATIONUser programsUSER PROGRAMSProgram No. 14: Number of copies per accountProgram No. 14 is used to display the total number of copie
42GENERAL INFORMATIONUSER PROGRAMSUser programsProgram No. 15: Resetting accountProgram No. 15 is used to reset all accounts or to reset any desired i
43GENERAL INFORMATION Power save modesPOWER SAVE MODESThe copier has two power save modes to reduce overall power consumptionthereby reduce the cost o
44GENERAL INFORMATION Power save modesPOWER SAVE MODESSetting the power save modesThe time that elapses before the copier enters a power save mode aft
45GENERAL INFORMATION User maintenanceBypass tray paper feed rollerIf misfeeds occur frequently when feeding postcards,envelopes, thick paper, etc. th
46GENERAL INFORMATION User maintenanceCharger cleanerUSER MAINTENANCETransfer charger cleaningIf copies start becoming streaky or blotchy, the transfe
47GENERAL INFORMATIONProblem Solution●Copier plugged in?●Power switch ON?●Copy density properly adjusted?●Is the original placed face down?●Paper to
3GETTING STARTEDMAIN FEATURESHigh-speed laser copying●First-copy time is only 7.2 seconds (except in a power save mode or immediately after power on).
48GENERAL INFORMATIONProblem Solution●Original table or platen cover dirty?●Original smudged or blotchy?●Is the indicator on?●Is the indicator o
49GENERAL INFORMATIONA toner cartridge is not installed. Install a tonercartridge. If "CH" is blinking even if acartridge is installed prope
50GENERAL INFORMATIONSUPPLIESTypes and sizes of copy paperSize Weight Capacity (80 g/m2Special paperpaper)Paper tray A5* to A3 56 to 80 g/m2250 sheets
51GENERAL INFORMATIONSUPPLIESGenuine supplies statementStandard supplies for this copier that are to be replaced by the user are copypaper and toner c
52GENERAL INFORMATIONSPECIFICATIONSSpecificationsType Digital laser copier, desktopCopy system Dry, electrostatic transferOriginals Sheets, bound docu
53GENERAL INFORMATIONSPECIFICATIONSSpecifications●First-copy time may differ depending on operating conditions, such as power-supply voltage androom t
54GENERAL INFORMATIONMEMO
55OPTIONALEQUIPMENTOPTIONALEQUIPMENTCONTENTSPage●SINGLE PASS FEEDER (AR-SP2) . . . . . . . . . . . . . . . . . . . . . . 56●Part names . . . . . . .
56OPTIONALEQUIPMENTSINGLE PASS FEEDER (AR-SP2)The single pass feeder (SPF) holds up to 30 originals for automatic feeding.Single pass feeder (AR-SP2)P
57OPTIONALEQUIPMENTSINGLE PASS FEEDER (AR-SP2)Using the SPF●Be sure to remove any staples or paper clips from theoriginals.●Damaged or crumpled origin
4GETTING STARTEDPART NAMES AND FUNCTIONSOverall layoutPlaten coverPlace the original on the original table and close theplaten cover before copying st
58OPTIONALEQUIPMENTSINGLE PASS FEEDER (AR-SP2)Misfeed removalLocation ALocation BLocation CSingle pass feeder (AR-SP2)If an original misfeed occurs in
59AAuto clear . . . . . . . . . . . . . . . . . . . . . . . . . . . . . . . . . 7, 36Automatic exposure adjustment . . . . . . . . . . . . . . . . .
60SSpecial paper . . . . . . . . . . . . . . . . . . . . . . . . . . . . . . . . 18Specifications– copier . . . . . . . . . . . . . . . . . . . . . .
61MEMO
CLASS 1LASER PRODUCTLASER KLASSE 1 CLASS 1 LASER PRODUCTLASER KLASSE 1LUOKAN 1 LASERLAITEKLASS 1 LASERAPPARATCAUTIONVORSICHTADVARSELADVERSELVARNINGVAR
This equipment complies with the requirements of Directives 89/336/EEC and 73/23/EEC as amended by 93/68/EEC.Dieses Gerät entspricht den Anforderungen
PRINTED IN CHINA2002L KS TINSE0806QSZZSHARP CORPORATIONAR-5015 N/AR-5120Printed on 100% post-consumer recycled paper
5GETTING STARTEDPART NAMES AND FUNCTIONSToner cartridge lock release leverUse to unlock the toner cartridge.Toner cartridgeContains toner.Photoconduct
6GETTING STARTEDOperationpanelPART NAMES AND FUNCTIONSINTERRUPT ( ) key and indicator (p. 25)Interrupts a copy run.Copy quantity displayDisplays the s
7GETTING STARTEDPART NAMES AND FUNCTIONSZero keyUse as part of numeric keys to enter copy quantity.Press during a continuous copy run to display thenu
More documents for Copiers Sharp AR-5120

Related products and manuals for Copiers Sharp AR-5120
 (84 pages)
(12 pages)
(12 pages)
(12 pages)
(272 pages)
(19 pages)
(132 pages)
(45 pages)
(12 pages)
(48 pages)
(84 pages)
(12 pages)
(12 pages)
(12 pages)
(272 pages)
(19 pages)
(132 pages)
(45 pages)
(12 pages)
(48 pages)
 (80 pages)
(8 pages)
(92 pages)
(8 pages)
(188 pages)
(12 pages)
(116 pages)
(12 pages)
(8 pages)
(4 pages)
(80 pages)
(8 pages)
(92 pages)
(8 pages)
(188 pages)
(12 pages)
(116 pages)
(12 pages)
(8 pages)
(4 pages)
© 2020, manymanuals.com. All rights reserved. | 0.840 s |
 Manymanuals.com
 Manymanuals.de
 Manymanuals.fr
 Manymanuals.it
 Manymanuals.pl
 Manymanuals.cz
 Manymanuals.es
 Manymanuals-pt.com
Comments to this Manuals